

In this article, I explain the key steps to carving a wooden spoon using hand tools and green wood. If you want to learn more about each stage of the process, you’ll find links to specific articles in each section.
There are different ways to carve a spoon from wood, but this blog focuses on carving with green wood and using only hand tools.
If you prefer learning through video lessons, visit my Online Spoon Carving Course with Andrea Cortés.
Type of Wood for Carving Spoons
Not all types of wood are suitable for carving spoons, especially when using hand tools.
This method relies solely on the strength of our body, and the wood is held by hand during carving, so selecting the right type of wood is essential.
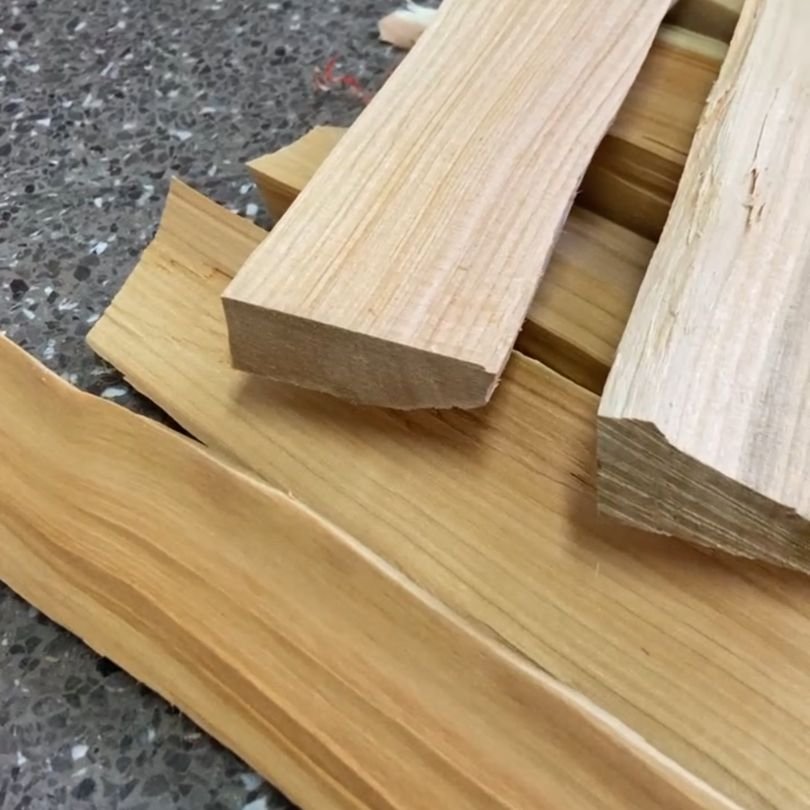
Wood that still has free moisture is called green wood. Unlike the wood used in furniture making, which must go through a drying process for greater stability, green wood remains easier to work with due to its moisture content.
Using Green Wood for Carving
For this process, it’s important to use green wood, as it retains moisture, making it easier to work with.
The wood must meet some additional requirements to be suitable for this type of carving. Read the article: Types of Wood for Spoon Carving to get more information on selecting the right wood.


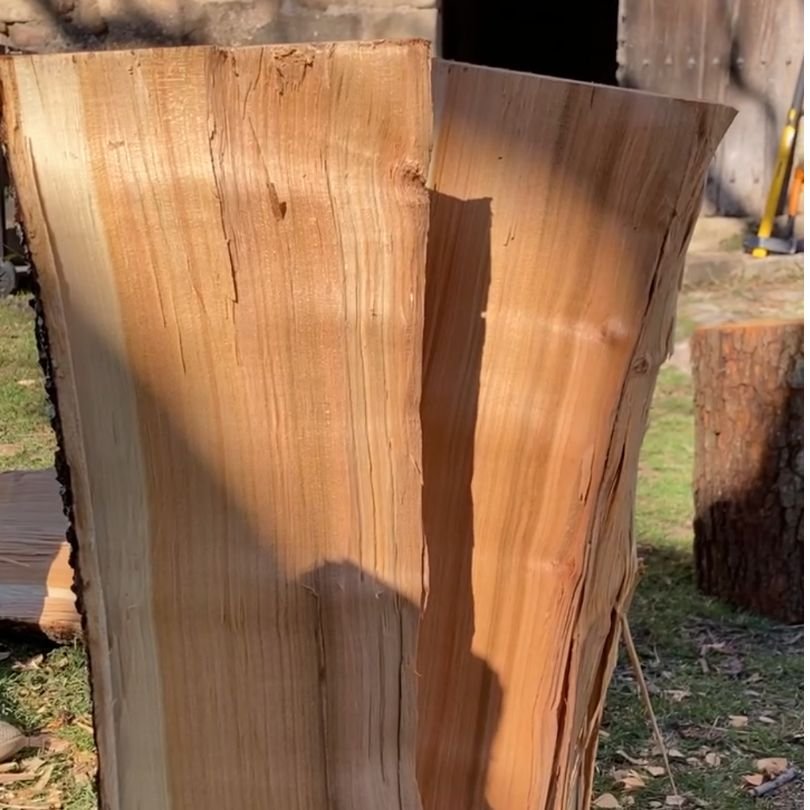
When carving a spoon, we start with a branch or section of a freshly cut log or one that has been sealed and stored to retain moisture. See the article: How to Store Wood to Prevent Cracks for more information.
When cutting a log or branch, you need to consider how the wood might warp as it dries and how the grain will look depending on where you make the cuts. This subject is better explained in the next article: Understanding the grain and wood movement
Spoon Design
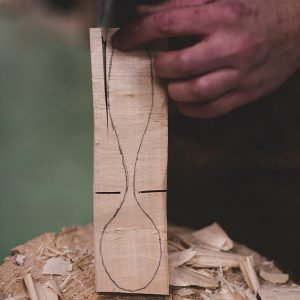
Before starting to carve, it’s recommended to draw the outline of the spoon on the wood. You can seek inspiration by searching for images or designs of hand-carved spoons on Google using the search term “Wooden Spoon Design“. If you want to see some outstanding examples, visit this article: 20 Best Wooden Spoons in the World.
For more tips on designing a spoon, check out the article: Design a Wooden Spoon.
Key Consideration: Grain Direction
The most important aspect when carving a spoon is understanding the grain direction. Only by understanding the grain direction will you learn how to use the tools correctly.
Read more on this topic in the article: Going with the Grain: The Cutting Direction.
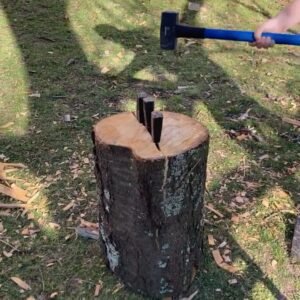
Initial Carving with an Axe
Once the wood is selected and the design is outlined, you should begin by removing material with a sharp carving axe. This helps to get closer to the final shape before using carving knives.
If you do not have an axe available, you can use power tools like a jigsaw or band saw. However, remember the importance of the grain direction in the piece of wood. When mechanizing wood with power tools, they can cut in any direction, unlike the axe, which follows the grain, ensuring you have a piece of wood with the fibers in the correct direction for carving.
For more information about the axe, check the article: Tools for Spoon Carving – The Axe.
Using Carving Knives
After working with the axe, it’s time to use the carving knives. The two main tools are the straight knife, also known as a Sloyd knife, and the hook knife, used to carve the bowl of the spoon. These tools allow you to define details and refine the design.
Find more details in the articles:
Tools for Spoon Carving – The Knife
Tools for Spoon Carving – The Hook Knife
If you don’t have the tools to start carving, various tool kits are available in the store.
Tool Sharpening and Care
A fundamental aspect of this practice is maintaining your tools and keeping them sharp.
A dull tool is far more dangerous than a very sharp one.
You must learn how to sharpen your tools to carve correctly.
If you want to learn more about this topic, visit my Online Tool Sharpening Course for Spoon Carving.
Carving Safety
Wood carving can be dangerous if safety measures are not followed. It is essential to keep your limbs out of the path of cutting tools and to ensure you are using safe techniques. Never place your hands or legs in the cutting direction.
Review the Safety Instructions before starting.
In the following video, you can watch one of the best spoon carvers, Barnaby Alexander Carder, also known as Barn The Spoon, carve a spoon in less than an hour.
Barnaby has years of experience carving spoons and completely masters cutting techniques, so for your own safety, it’s important not to imitate him if you don’t have experience.
Conclusion
Now that you know the basic steps to carve a wooden spoon, it’s time to get to work. By following these tips, you can enjoy this traditional craft while creating a unique and useful utensil.
If you have any questions or comments, feel free to write in the comments section.